Image may be NSFW.
Clik here to view. Once you've got your foundation laid, you can get ready to roll-out CoSchedule to your entire team. This blog post teaches you some important things that you need to do before you start inviting team members. If you have questions about user roles and access rights in CoSchedule; user permissions, or how to best use the read-only view, this blog post is for you.
Clik here to view.
There are five user roles in CoSchedule: Owner, Manager, Admin, User, and Guest.
Clik here to view.
Clik here to view.
Clik here to view.![]()
Image may be NSFW.
Clik here to view.![Guest access rights]()
Clik here to view.![Where to set user roles]() Click the pencil next to the team member you want to edit and use the drop-down list to choose the user role you want to apply to the individual.
Image may be NSFW.
Click the pencil next to the team member you want to edit and use the drop-down list to choose the user role you want to apply to the individual.
Image may be NSFW.
Clik here to view.![Team member roles]()
Clik here to view.![]() There are two different versions of the read-only view that can be shared.
There are two different versions of the read-only view that can be shared.
Clik here to view.![Shareable link]() If you don’t want someone to have access to that link any longer, simply break the link by clicking the “Disable Sharing” text.
To create a downloadable PDF, click the “Download PDF” text located under the shareable link.
If you don’t want someone to have access to that link any longer, simply break the link by clicking the “Disable Sharing” text.
To create a downloadable PDF, click the “Download PDF” text located under the shareable link.
Clik here to view.![Read only link example]() This cuts down on the time it takes you to manually provide updates. Individuals can self-serve and see exactly when their projects will be done and what progress has been made so far.
This cuts down on the time it takes you to manually provide updates. Individuals can self-serve and see exactly when their projects will be done and what progress has been made so far.
Clik here to view.![Read only marketing campaigns]() For more details about the campaign, the read-only link allows the user to click into each campaign to see individual projects, tasks, and content.
Image may be NSFW.
For more details about the campaign, the read-only link allows the user to click into each campaign to see individual projects, tasks, and content.
Image may be NSFW.
Clik here to view.![Click into campaigns]()
Clik here to view.![Feedback in read only]()
Clik here to view.![Upcoming tasks list]() From here, click the blue button to add a new team member to your calendar.
Image may be NSFW.
From here, click the blue button to add a new team member to your calendar.
Image may be NSFW.
Clik here to view.![Invite team member]() Enter the individual’s email and choose their user role based on their needs.
Enter the individual’s email and choose their user role based on their needs.
Clik here to view.![Customized app permissions]() Here are some best practice suggestions for each member of your team:
Here are some best practice suggestions for each member of your team:
Clik here to view.![Graphic designers saved view]()
Clik here to view.![Content marketers saved view]()
Clik here to view.![Content marketers saved view]()
Clik here to view.![Copywriters saved view]()
Clik here to view.![Analysts saved view]() Image may be NSFW.
Image may be NSFW.
Clik here to view.![Set your team up in Coschedule]()
Clik here to view.
 Once you've got your foundation laid, you can get ready to roll-out CoSchedule to your entire team. This blog post teaches you some important things that you need to do before you start inviting team members. If you have questions about user roles and access rights in CoSchedule; user permissions, or how to best use the read-only view, this blog post is for you.
Table of Contents
Introduction
What is this guide? This lesson covers a handful of things you need to know about before inviting your team to use CoSchedule. Who’s this guide for? New CoSchedule champions that will be implementing CoSchedule for their marketing team. What you’ll learn:- Inviting team members to CoSchedule.
- Inviting team members to CoSchedule.
- Types of user roles and use cases for each.
- How (and when) to use read-only views.
- Setting team permissions for each member.
User Roles in CoSchedule
User roles allow you to limit what certain users see in CoSchedule. It’s a good idea to sketch out who on your team will have which roles before you start. Here’s an example to illustrate how each role could be implemented in a marketing team. Image may be NSFW.Clik here to view.
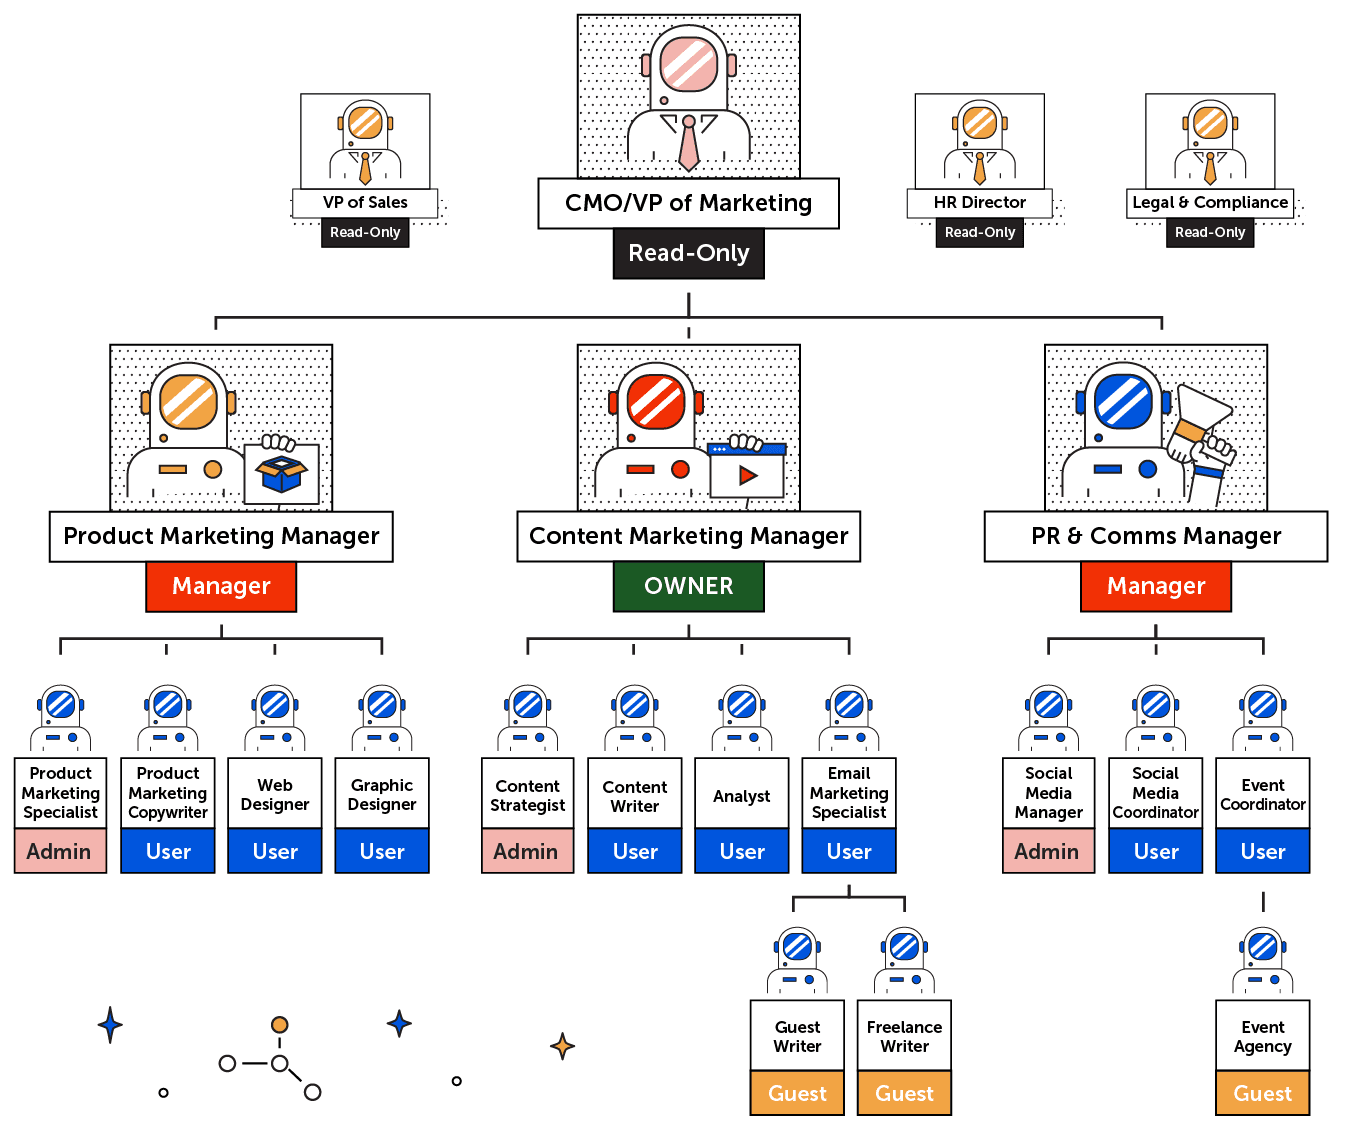 There are five user roles in CoSchedule: Owner, Manager, Admin, User, and Guest.
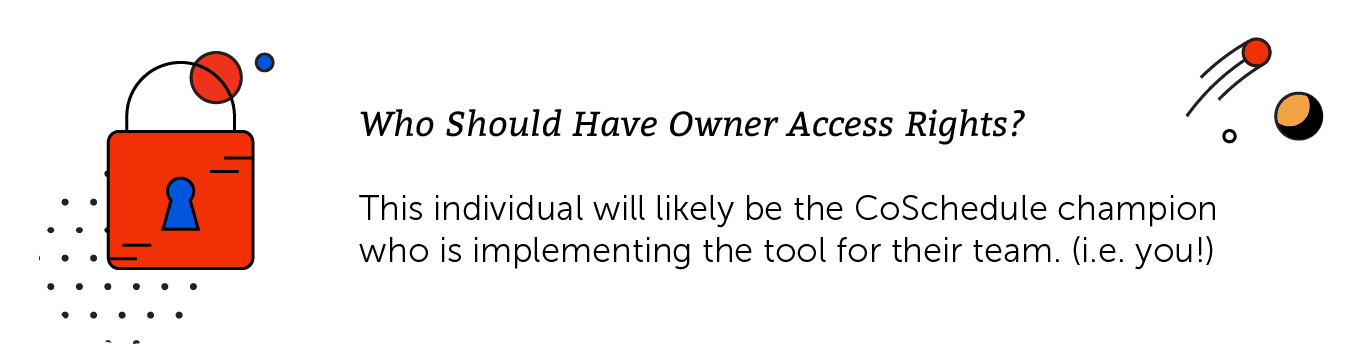
Owner
An owner in CoSchedule is the individual with the highest access rights. It is likely the person who started the CoSchedule plan and initiated the purchase. There is only one owner per account. This individual can:- Can change the subscription plan, update billing information, and delete calendars.
- Can view, edit, publish, and delete projects.
- Can view, edit, publish, and delete social messages.
- Can create and assign tasks to all team members.
- Change calendar settings.
- Can administer social profiles, including the ability to delete profiles from your company.
- Can administer team members, including the ability to delete team members from your company.
Clik here to view.
Manager
Managers have the same access rights as an owner. However, the owner can rescind rights from the manager as necessary. You may want to assign a team member these rights to assist you with managing the account in the event that you are unable to access the account due to travel, etc. These individuals can:- Can change the subscription plan and update billing information.
- Cannot assign other team members as Managers.
- Can view, edit, publish, and delete projects.
- Can view, edit, publish, and delete social messages.
- Can create and assign tasks to all team members.
- Change calendar settings.
- Can administer social profiles, including the ability to delete profiles from your company.
- Can administer team members, including the ability to delete team members from your company.
Clik here to view.

Admin
Individuals with admin access can…- Cannot assign other team members as Managers.
- Can view, edit, publish, and delete projects.
- Can view, edit, publish, and delete social messages.
- Can create and assign tasks to all team members.
- Change calendar settings.
- Can administer social profiles, excluding the ability to delete profiles from your company. (Only owners and managers can permanently delete a social profile from the entire company.)
- Can administer team members, excluding the ability to delete team members from your company. (Only owners and managers can permanently delete a team member from the entire company.)
Clik here to view.

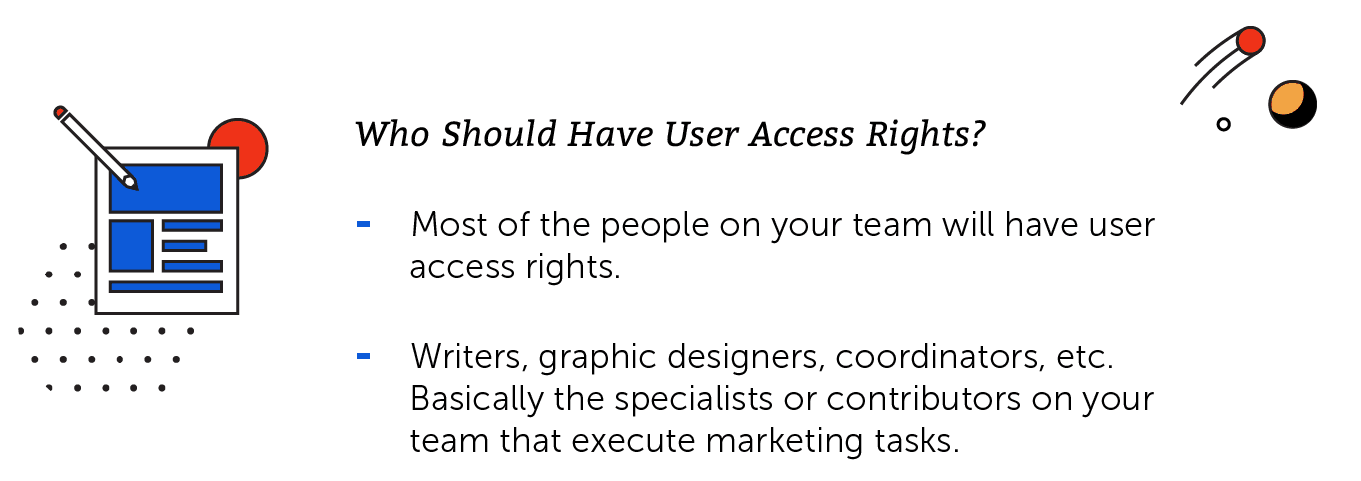
User
Individuals with user access can…- Can view, edit, publish, and delete projects.
- Can view, edit, publish, and delete social messages.
- Can create and assign tasks to all team members.
Image may be NSFW.
Clik here to view.![Who should have user access]()
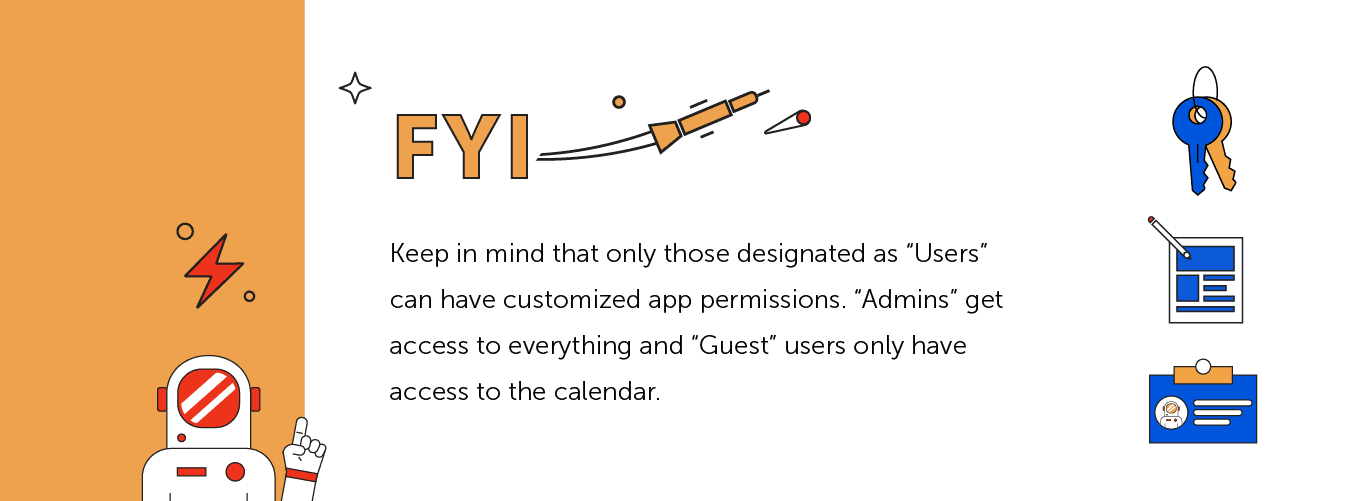
Guest
Individuals with guest access can…- Can view and edit projects only if assigned to them.
- Can complete tasks assigned to them.
Clik here to view.

Where to Set User Roles for Your Team
When you’re ready to start inviting your team members to CoSchedule, user roles can be set by toggling down your name in the left-hand corner and clicking the “Team Members” option. Image may be NSFW.Clik here to view.
 Click the pencil next to the team member you want to edit and use the drop-down list to choose the user role you want to apply to the individual.
Image may be NSFW.
Click the pencil next to the team member you want to edit and use the drop-down list to choose the user role you want to apply to the individual.
Image may be NSFW.Clik here to view.

Read-only Views in CoSchedule
You likely have a few stakeholders that require regular updates on what your team is working on. CoSchedule makes it easy to keep everyone in-the-know and prove the value of your team with read-only views. This means people can have access to see certain marketing projects or campaigns, but can’t make changes, edit, or reschedule. The best part about read-only views is that stakeholders can see what’s going on, but you don’t have to pay for an extra user in CoSchedule.How to Create a Read-only View
Read-only views are created by clicking the share icon in the top right-hand corner. Image may be NSFW.Clik here to view.
 There are two different versions of the read-only view that can be shared.
- A shareable link that gets updated in real-time, so your stakeholders always have the most up-to-date details.
- A downloadable PDF that is best for printing, but won’t automatically update when changes are made.
Clik here to view.
 If you don’t want someone to have access to that link any longer, simply break the link by clicking the “Disable Sharing” text.
To create a downloadable PDF, click the “Download PDF” text located under the shareable link.
If you don’t want someone to have access to that link any longer, simply break the link by clicking the “Disable Sharing” text.
To create a downloadable PDF, click the “Download PDF” text located under the shareable link.
When to Use a Read-only View
Here are a few awesome use cases to make the most of read-only views.Keep the Sales Team Updated on Deliverables
If your team is responsible for producing materials on behalf of other departments, creating a read-only view is a great way to cut down on status updates and keep people in that department updated on projected timelines. For instance, if your team regularly creates sales collateral for the sales department, choose to create a read-only link based on the “Sales” saved view. This will ensure that the sales team only has access to view the projects that are relevant for them. Here’s an example of what the sales read-only link will look like to someone on the sales team: Image may be NSFW.Clik here to view.
 This cuts down on the time it takes you to manually provide updates. Individuals can self-serve and see exactly when their projects will be done and what progress has been made so far.
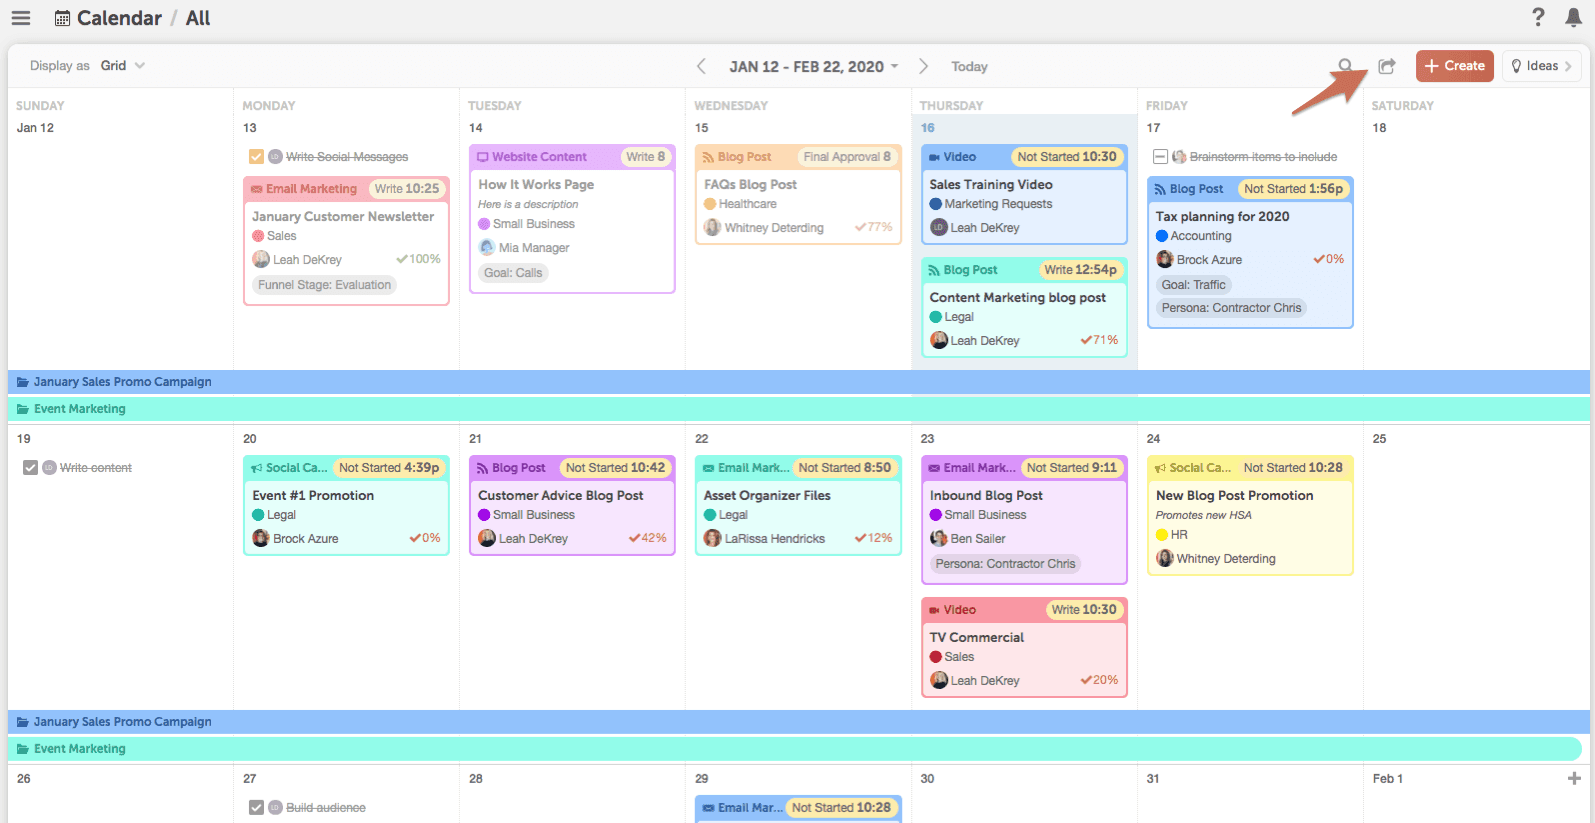
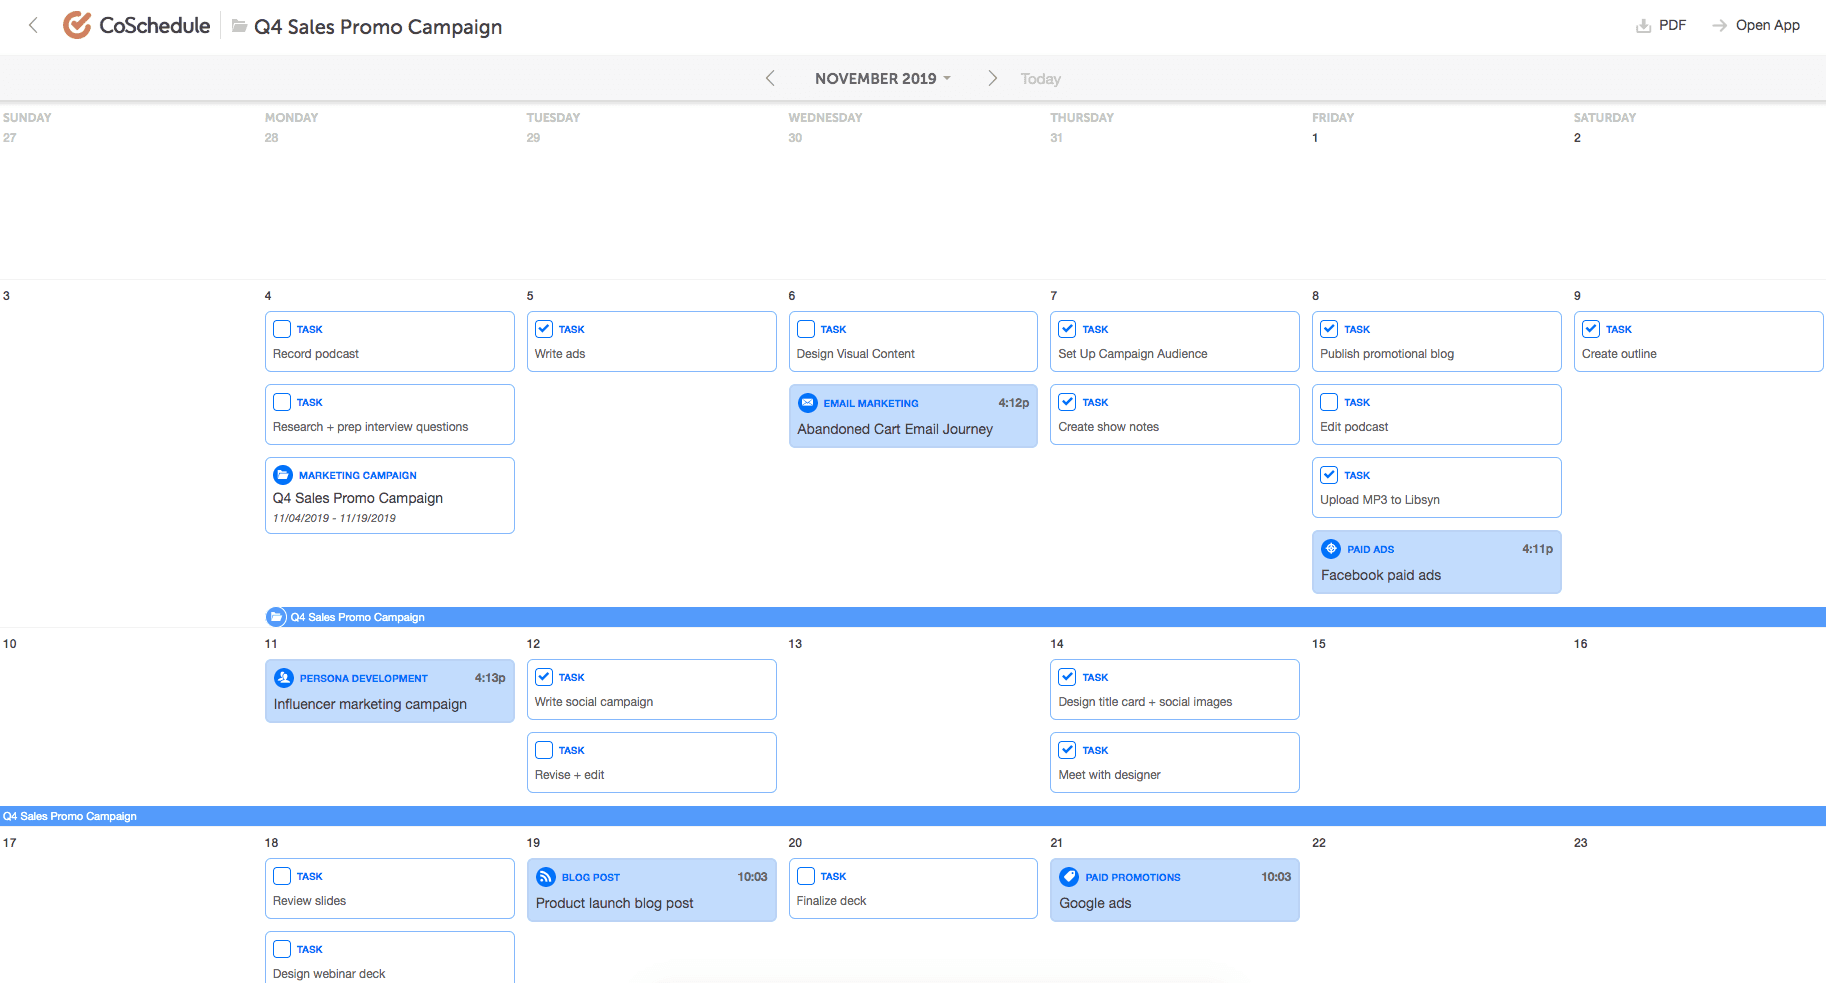
Show Your CMO/CEO All Scheduled/Planned Marketing Campaigns
Say your CMO wants to stay updated on the progress of every marketing campaign your team launches. Create a read-only link from a “Marketing Campaigns” saved view. This allows the CMO to quickly see when each campaign will launch and all the individual projects which the campaign is comprised of. Image may be NSFW.Clik here to view.
 For more details about the campaign, the read-only link allows the user to click into each campaign to see individual projects, tasks, and content.
Image may be NSFW.
For more details about the campaign, the read-only link allows the user to click into each campaign to see individual projects, tasks, and content.
Image may be NSFW.Clik here to view.
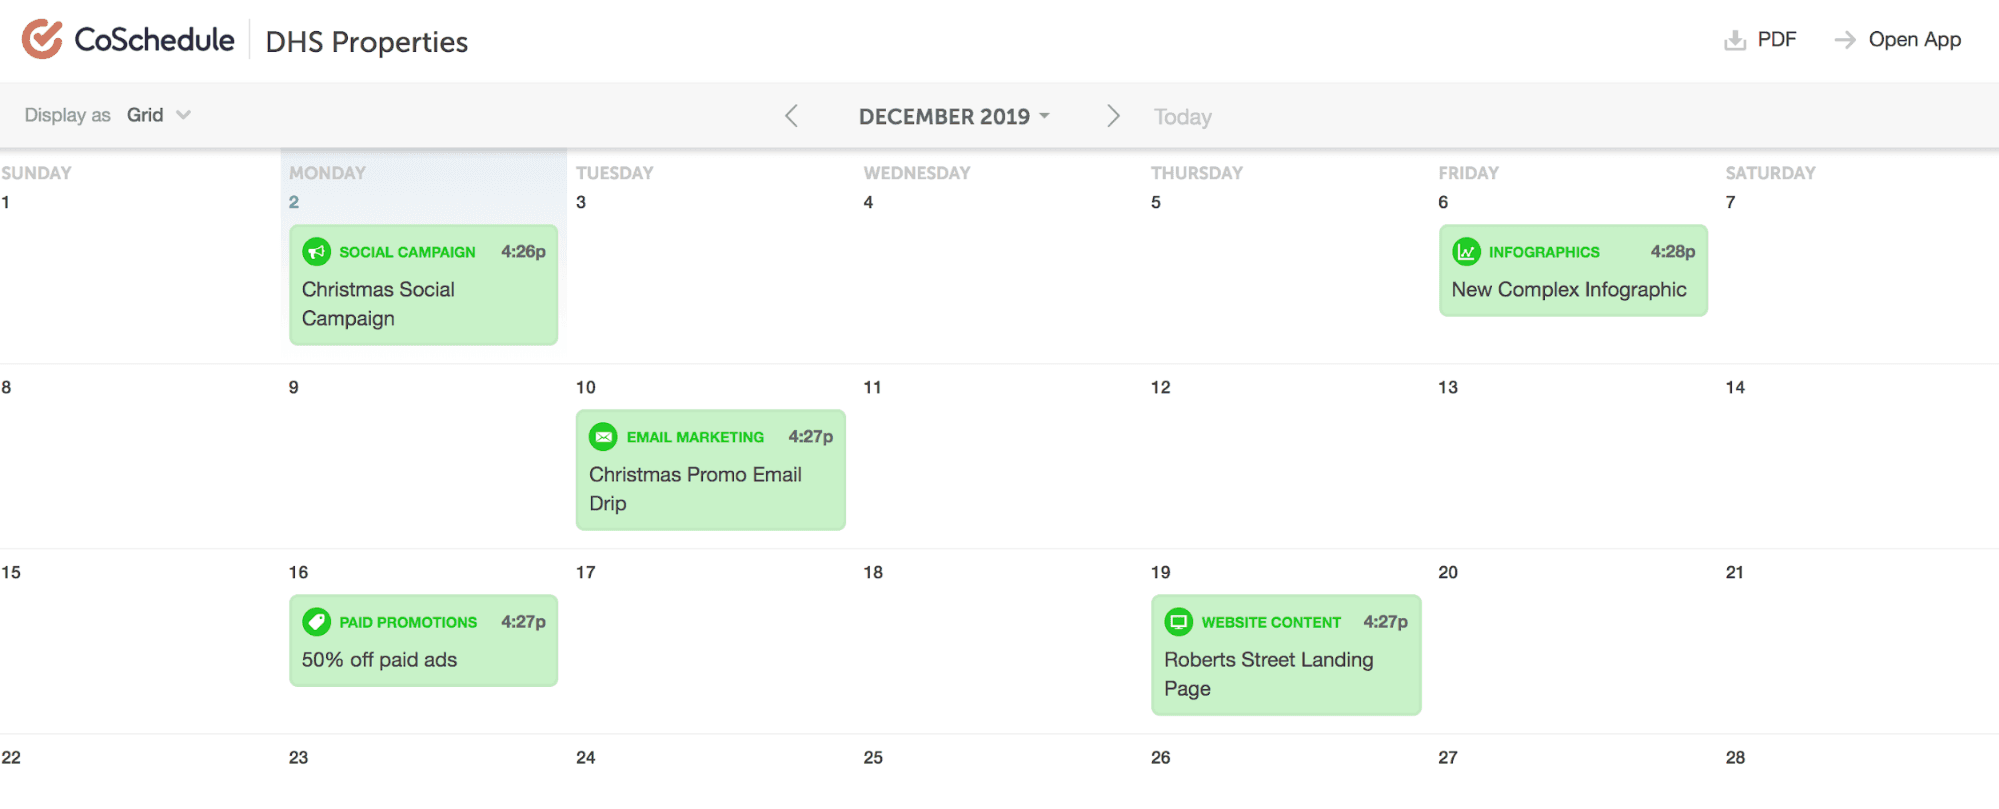
Share Planned Work on Behalf of Clients
Keep clients in-the-know by giving them a read-only link to quickly see all the things you’re working on including marketing initiatives, social media, or email marketing. Share a read-only link with a client based on the color label saved view you created in an earlier lesson. Missed that lesson? No prob. You can re-read it here. This allows your clients to quickly approve content, see timelines, and give feedback about deliverables. Image may be NSFW.Clik here to view.
Inviting Your Team to Use CoSchedule
Now that you’ve got some of the basic things set-up in CoSchedule, it’s time to start inviting your team members to use CoSchedule. Inviting team members is easy – simply toggle down your name and chose the “Team Members” option from the drop-down menu. Image may be NSFW.Clik here to view.
 From here, click the blue button to add a new team member to your calendar.
Image may be NSFW.
From here, click the blue button to add a new team member to your calendar.
Image may be NSFW.Clik here to view.
 Enter the individual’s email and choose their user role based on their needs.
Setting User Permissions
Once you’ve added your team members and they’ve accepted the invite, you can customize which parts of CoSchedule each person has access to. There are a couple of reasons you’ll want to do this:- It allows you to set boundaries based on roles and responsibilities.
- It gives each team member a custom view of CoSchedule that only has the features they care about.
Clik here to view.
 Here are some best practice suggestions for each member of your team:
Graphic Designers
Use Case: Graphic designers use CoSchedule to manage their daily workloads, submit their work and monitor projects for changes and approvals, but things like analytics and the Ideas Board aren’t relevant for them. Best Practice: Give graphic designers access to The Team Dashboard so they can easily see what they need to work on; The Project Kanban Board to move things forward once they’ve completed their portion of the work; and The Asset Organizer for a place to store all their projects. Image may be NSFW.Clik here to view.

Content Marketing Writers
Use Case: Content Marketers need to manage their daily workloads, monitor project progress and potentially see how their blog posts are performing on social media, but they probably shouldn’t be responding to incoming social media messages, etc. Best Practice: Give your Content Marketers access to the Team Dashboard so they can easily see what they need to work on; The Project Kanban Board to monitor progress on their projects; Analytics to see how their blogs are performing on social media; The Asset Organizer to pull graphics for their projects; and The Ideas Board to put content marketing and blog ideas in the backlog. Image may be NSFW.Clik here to view.

Social Media Coordinators
Use Case: When it comes to social media, it’s important to restrict who has access to these features. You don’t want someone to respond on behalf of your organization without proper permission. Some of your team is trained to respond using the brand voice and PR guidelines, and others are not. Best Practice: Social media is a powerful tool for marketing, but not everyone needs to access it. We recommend giving Social Media Coordinators access to The Conversations Inbox; The Asset Organizer so they can easily find documents; The Team Dashboard to Plan their daily work, Analytics to track outcomes of their social campaigns, and ReQueue to get better ROI on their social media efforts. Image may be NSFW.Clik here to view.

Copywriters
Use Case: Copywriters need to manage their daily workloads and quickly see what tasks they need to accomplish. Best Practice: Give your Copywriters access to the Team Dashboard so they can easily see what they need to work on. Image may be NSFW.Clik here to view.

Analysts
Use Case: Marketing Analysts need to manage their daily workloads and quickly see what tasks they need to accomplish and need to see data in CoSchedule to pull reports when necessary. Best Practice: Give your Analysts access to The Team Dashboard so they can easily see what they need to work on, as well as Analytics. Image may be NSFW.Clik here to view.
 Image may be NSFW.
Clik here to view.
The post Follow This Process to Get CoSchedule Ready for Your Marketing Team appeared first on CoSchedule Blog.